|
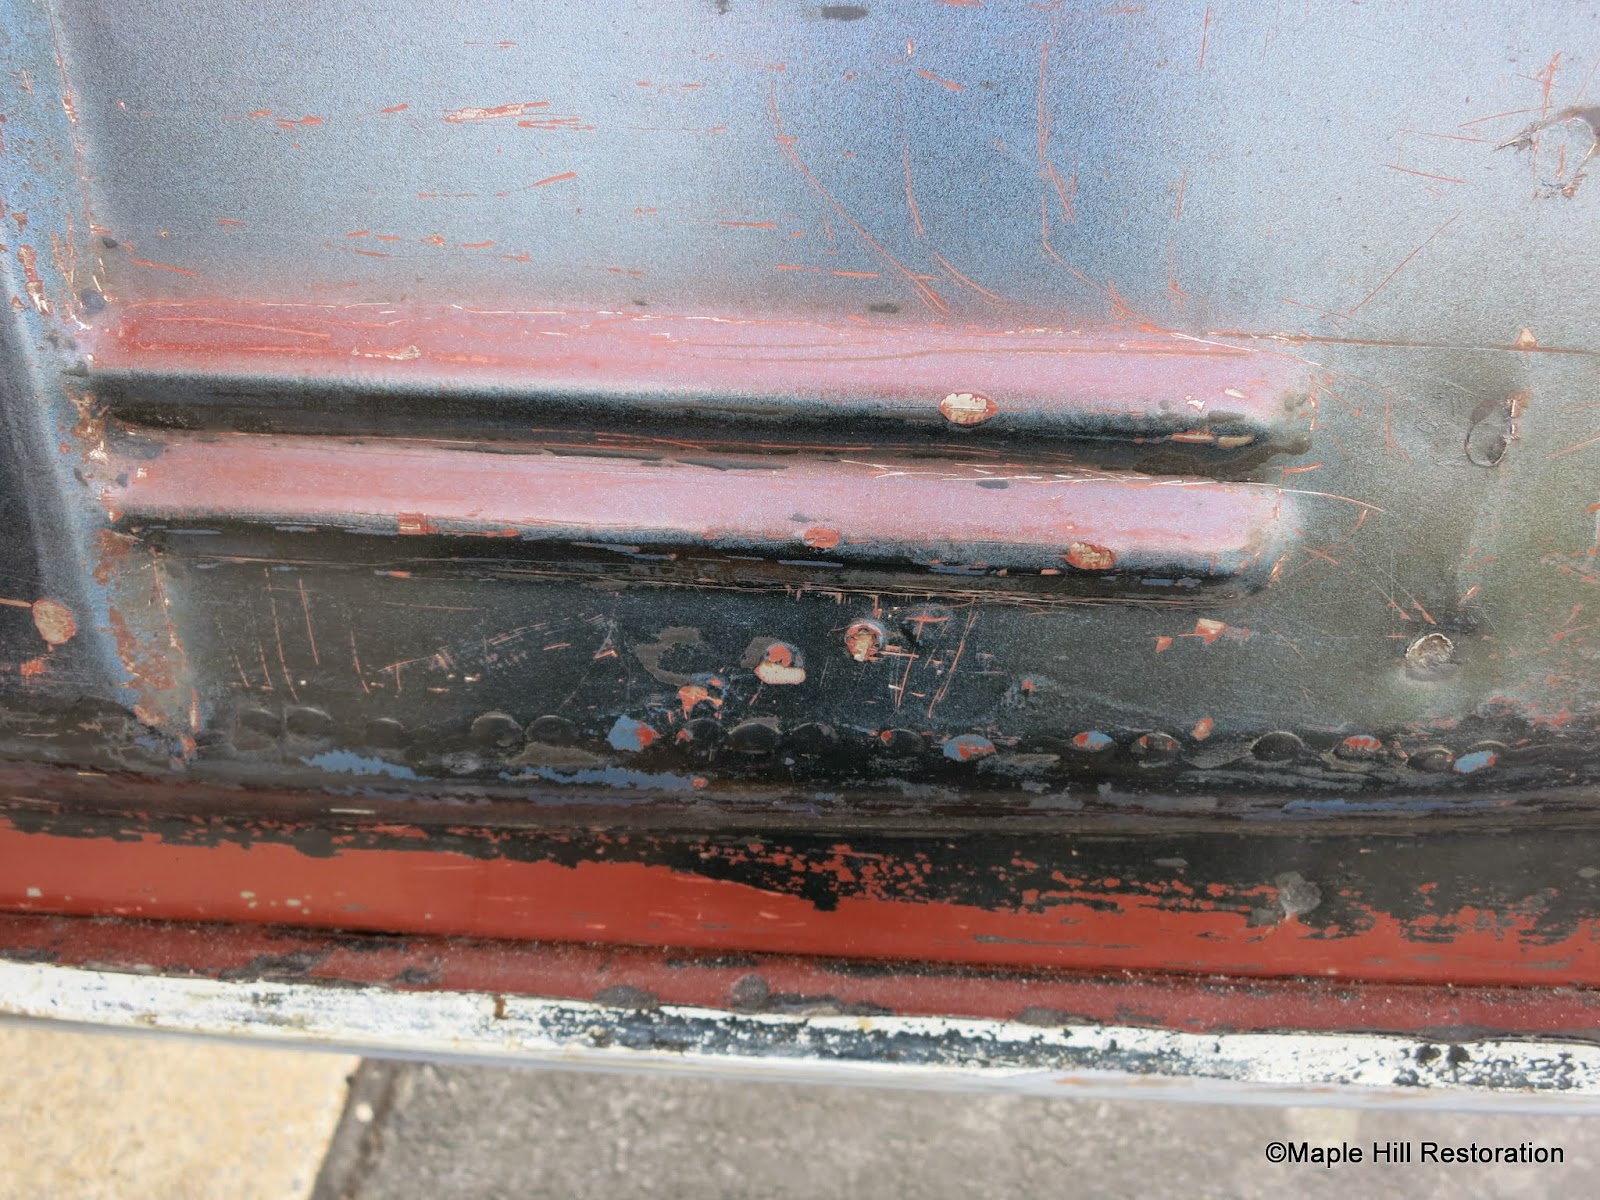
| 1966 Shelby GT350 Restoration. The black out on the rear frame rail shown here came from the black out paint that was originally applied to the rocker pinch weld area. www.VirginiaClassicMustang.com |
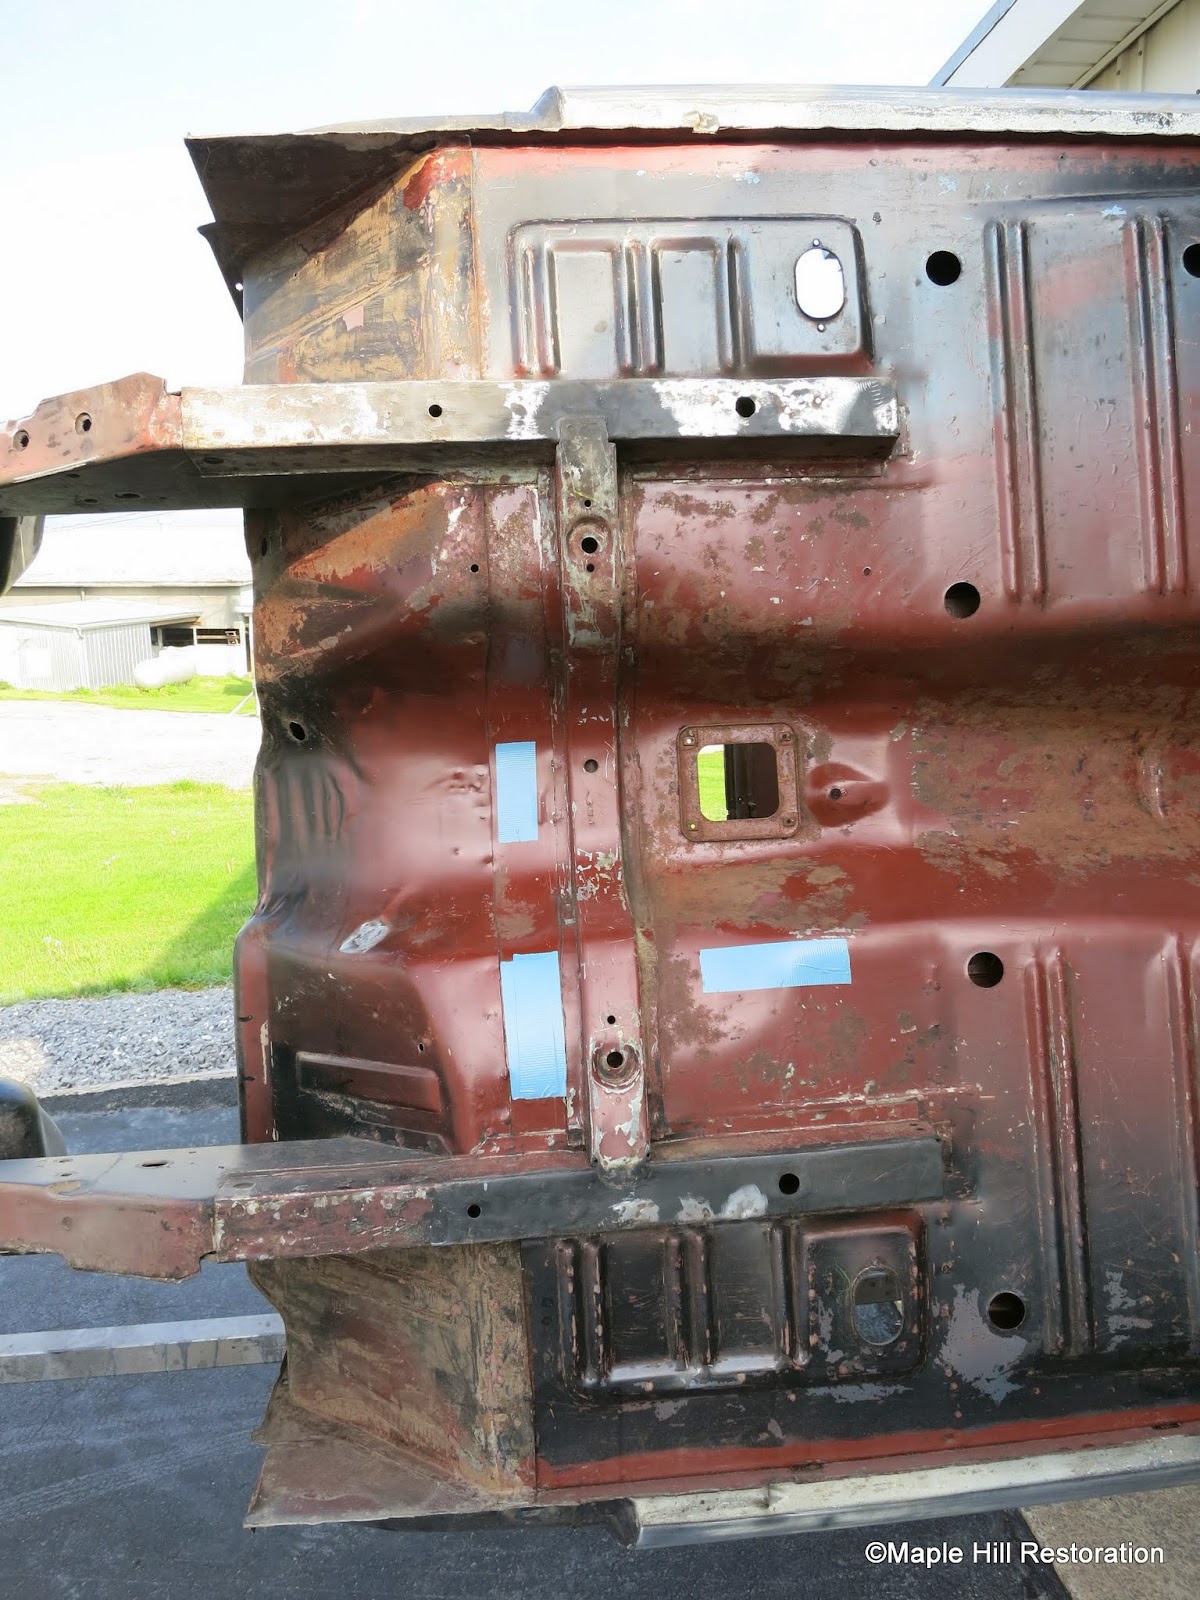
1966 Shelby SFM6S933 is another project in the shop at Maple Hill Restoration. We have other posts on the Blog here about the car. Just to recap, like all of the cars, we will be involved with the research and, of course, will be supplying the parts for this project. This is a fantastic, rust free car, but was painted white at one time. When Jeremy picked it up from the customer, it had already been disassembled. Fortunately, many of the original parts are in super condition and everything was saved.
Today we have more great pictures showing some original markings and paint overspray patterns as it gets ready to be totally stripped of paint by glass beading. It's so important to document things like this during this process in order to properly restore a car. Check out the captions under the pictures for lots more information.
If you missed the last post about this restoration, please click on this link:
Look for our next post Monday with lots more pictures of the stripped and then primered car.
 |
| 1966 Shelby GT350 Restoration. Blue overspray on the rear frame rail. www.VirginiaClassicMustang.com |
 |
| 1966 Shelby GT350 Restoration. www.VirginiaClassicMustang.com |
 |
| 1966 Shelby GT350 Restoration. Rear wheel well area has been stripped of sealer. www.VirginiaClassicMustang.com |
 |
| 1966 Shelby GT350 Restoration. Rear leaf spring mounting area. www.VirginiaClassicMustang.com |
 |
| 1966 Shelby GT350 Restoration. Rear Shock Mounting area. www.VirginiaClassicMustang.com |
 |
| 1966 Shelby GT350 Restoration. Front frame area. www.VirginiaClassicMustang.com |
 |
| 1966 Shelby GT350 Restoration. Traction bar mount. www.VirginiaClassicMustang.com |
 |
| 1966 Shelby GT350 Restoration. Rear body mount hole. www.VirginiaClassicMustang.com |
 |
| 1966 Shelby GT350 Restoration. Floor pan next to rocker area. www.VirginiaClassicMustang.com |
 |
| 1966 Shelby GT350 Restoration. Glass beading begins. www.VirginiaClassicMustang.com |
 |
| 1966 Shelby GT350 Restoration. Glass beading begins. www.VirginiaClassicMustang.com |
 |
| 1966 Shelby GT350 Restoration. Markings on front radiator support. www.VirginiaClassicMustang.com |
 |
| 1966 Shelby GT350 Restoration. Markings on front radiator support. www.VirginiaClassicMustang.com |