The process continues on '66 Shelby 6S933. If you missed the last update with pictures, please check out this link:
http://blog.virginiaclassicmustang.com/2015/05/just-details1966-shelby-gt350-mustang.html
Just to re-cap, this is a Sapphire Blue '66 with no LeMans Stripes. It's being restored by Jeremy Turner at
Maple Hill Restoration, and we will be supplying parts and information during the restoration. We are excited about this car just like the owner. It's going to be gorgeous!
We have a lot of pictures in today's post as the car gets glass beaded, metal etched, and primed. For more information and pictures, please scroll through the entire post.
In the pictures above and below, you can see that the Shelby has been glass beaded, but this process does not remove all of the sealer / undercoating material. This has to be manually scrapped off and removed.
The top side of the cowl under the fender is cut off to completely clean the cowl area. The cowl collars were in really nice shape, but there was still surface rust under them due to the bare metal area. They were removed, completely cleaned and re-installed.
This process also allows the entire inner cowl area to be completely cleaned and masked, so there is not an excessive build up of primer going in to this area from the cowl vent openings.
Like the cowl collars, surface rust can form in the metal seams where no primer or paint ever reached. These areas are carefully spread apart for cleaning and application of primer.
In the above photo, the cowl collar has been cleaned, primed and re-installed.
Below, the metal etching primer has been applied.
As mentioned, all of the seams are protected with primer, so there will not be any future rust concerns.
Above photo shows the black primer that has been applied to the front engine compartment area.
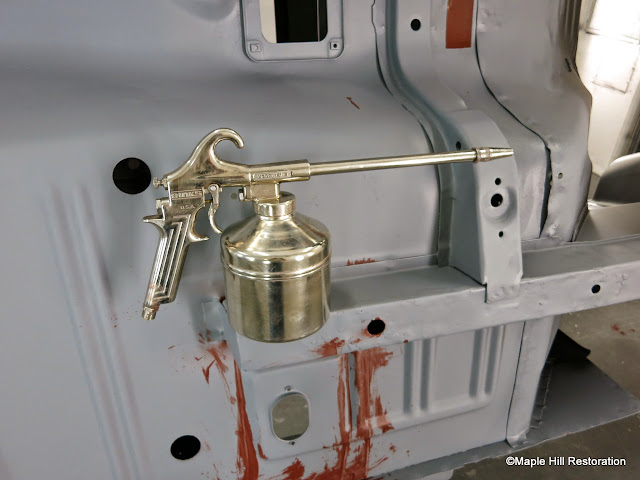
Below, the photo shows the small gun with long tip used in order to blow primer in the difficult to reach areas.
The back of the dash area is refinished and the black primer is applied.


