Thanks for visiting!


We have been serving the Mustang Hobby for over 40 years by providing quality parts with great service and reasonable prices. Check out our web site.

We started this Blog to share pictures, show new parts, and just talk about 64 1/2-73 Mustangs. We love to feature Customer Cars also. If you would like to see your Classic Mustang right here on our Blog, send us an email by clicking here to find out how!!

Nov 4, 2020

Just the Details...Early Production 1965 GT350 Shelby Mustang Restoration


Just the Details...Early Production 1965 GT350 Shelby Mustang Restoration
Outside of the GT350 body is taped up.


So, it's been quite a while since we had an update on the restoration of this incredible early production 1965 GT350 Mustang (Shelby).

To refresh your memory, this is a complete, turn-key restoration by our buddy, Jeremy at Maple Hill Restoration. I've said it before, but the amount of detail that goes into one of these restorations is just absolutely phenomenal. 

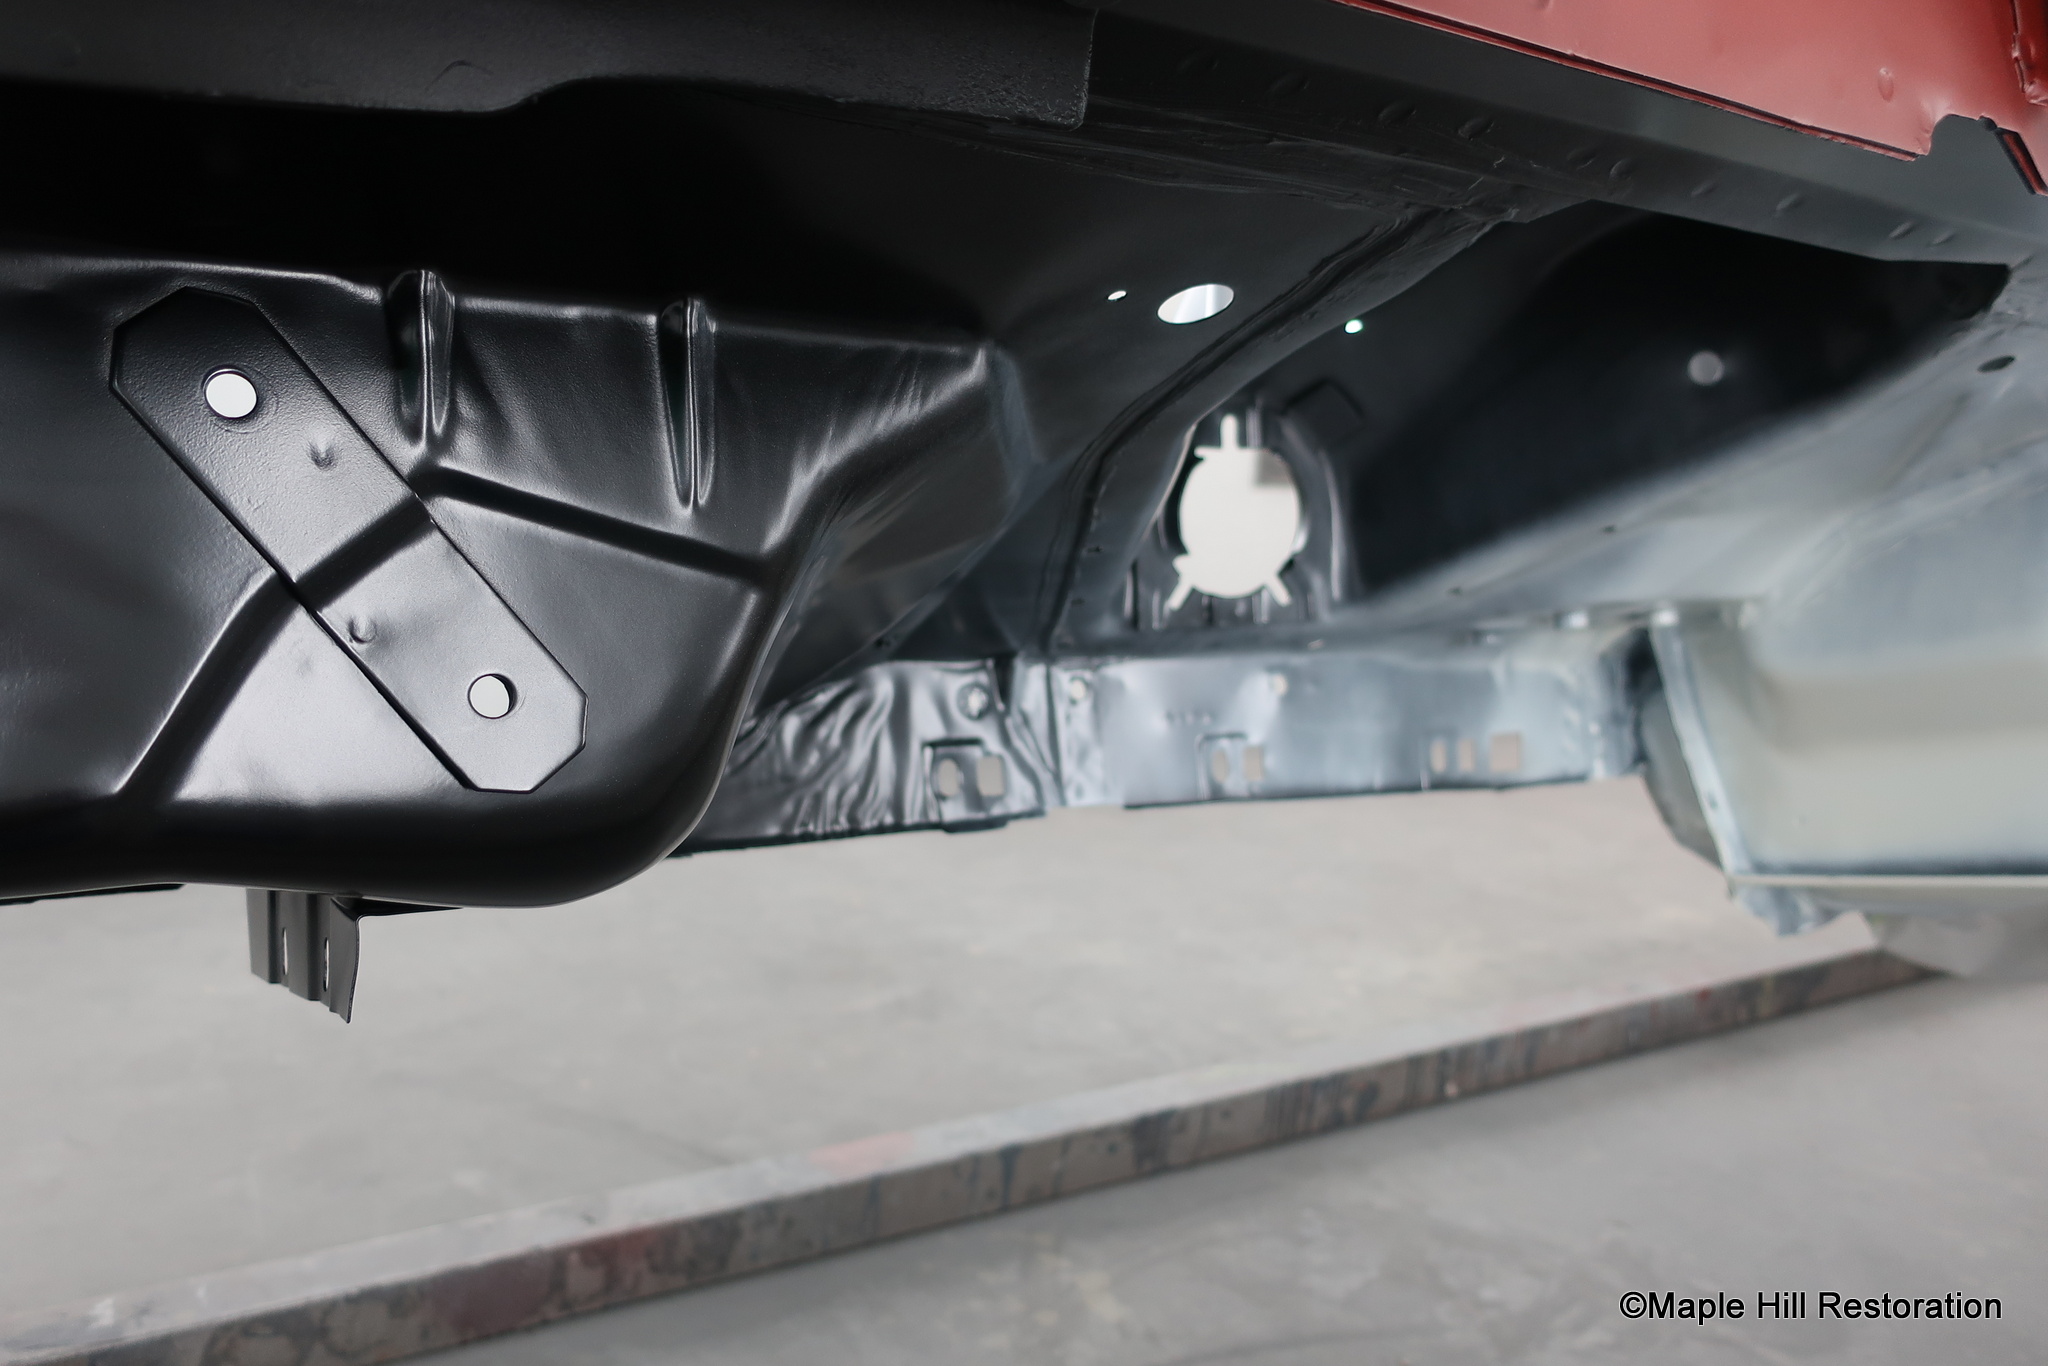
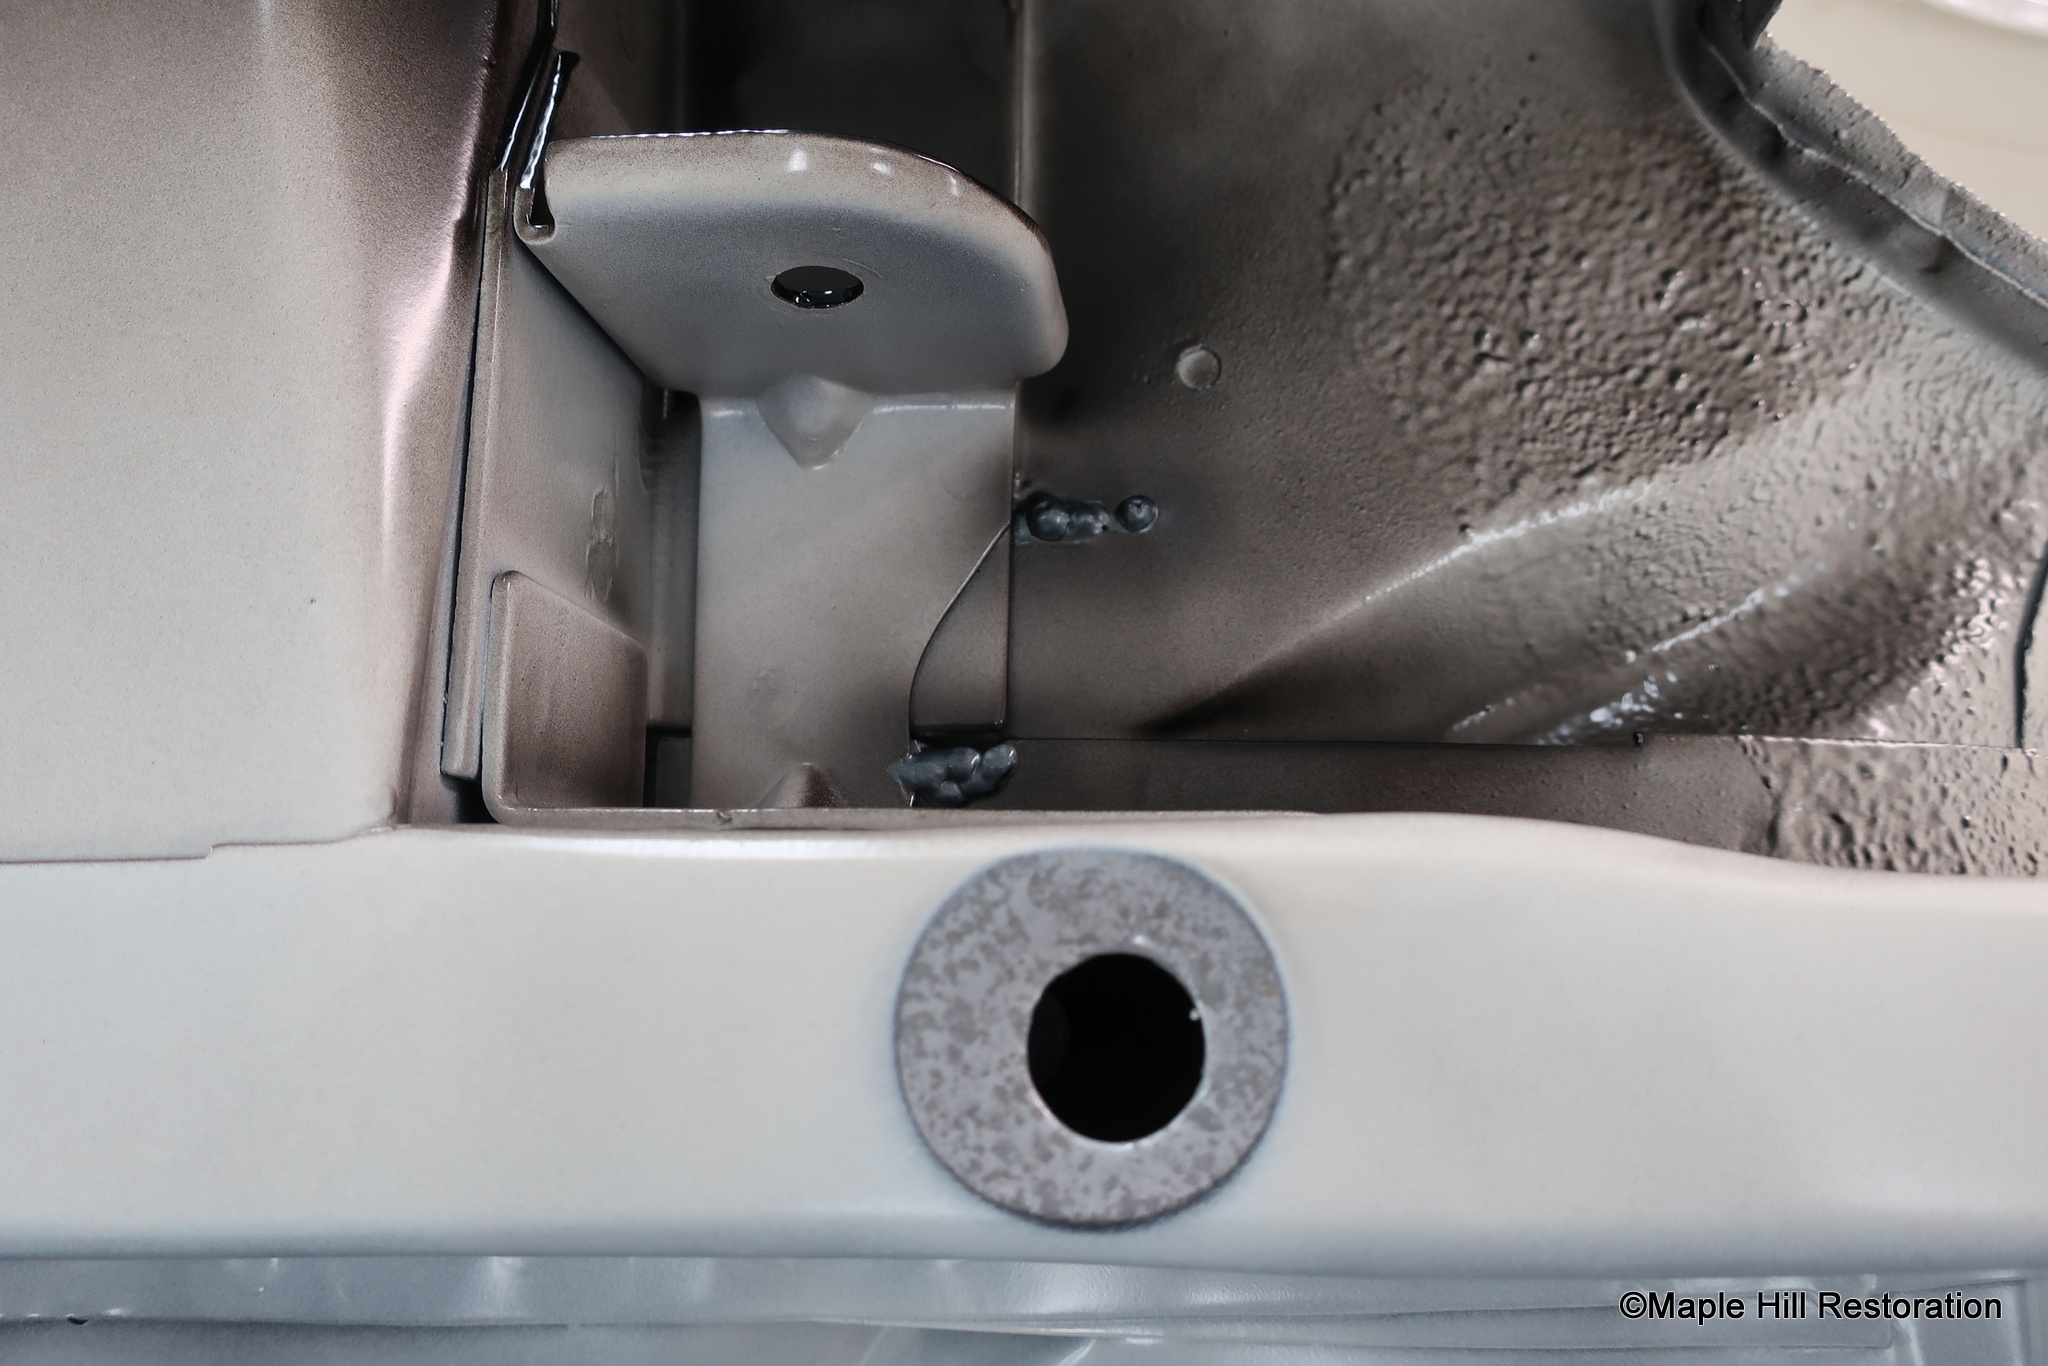
While most of the body work and paint on one of these restorations is farmed out, at Maple Hill Restoration, it's all done in house. One of the most fascinating parts of the entire restoration is the painting of the underside of the car. There's no substitute for having the opportunity to document and duplicate all of the original colors and overspray patterns. That's exactly what was done on this particular car.

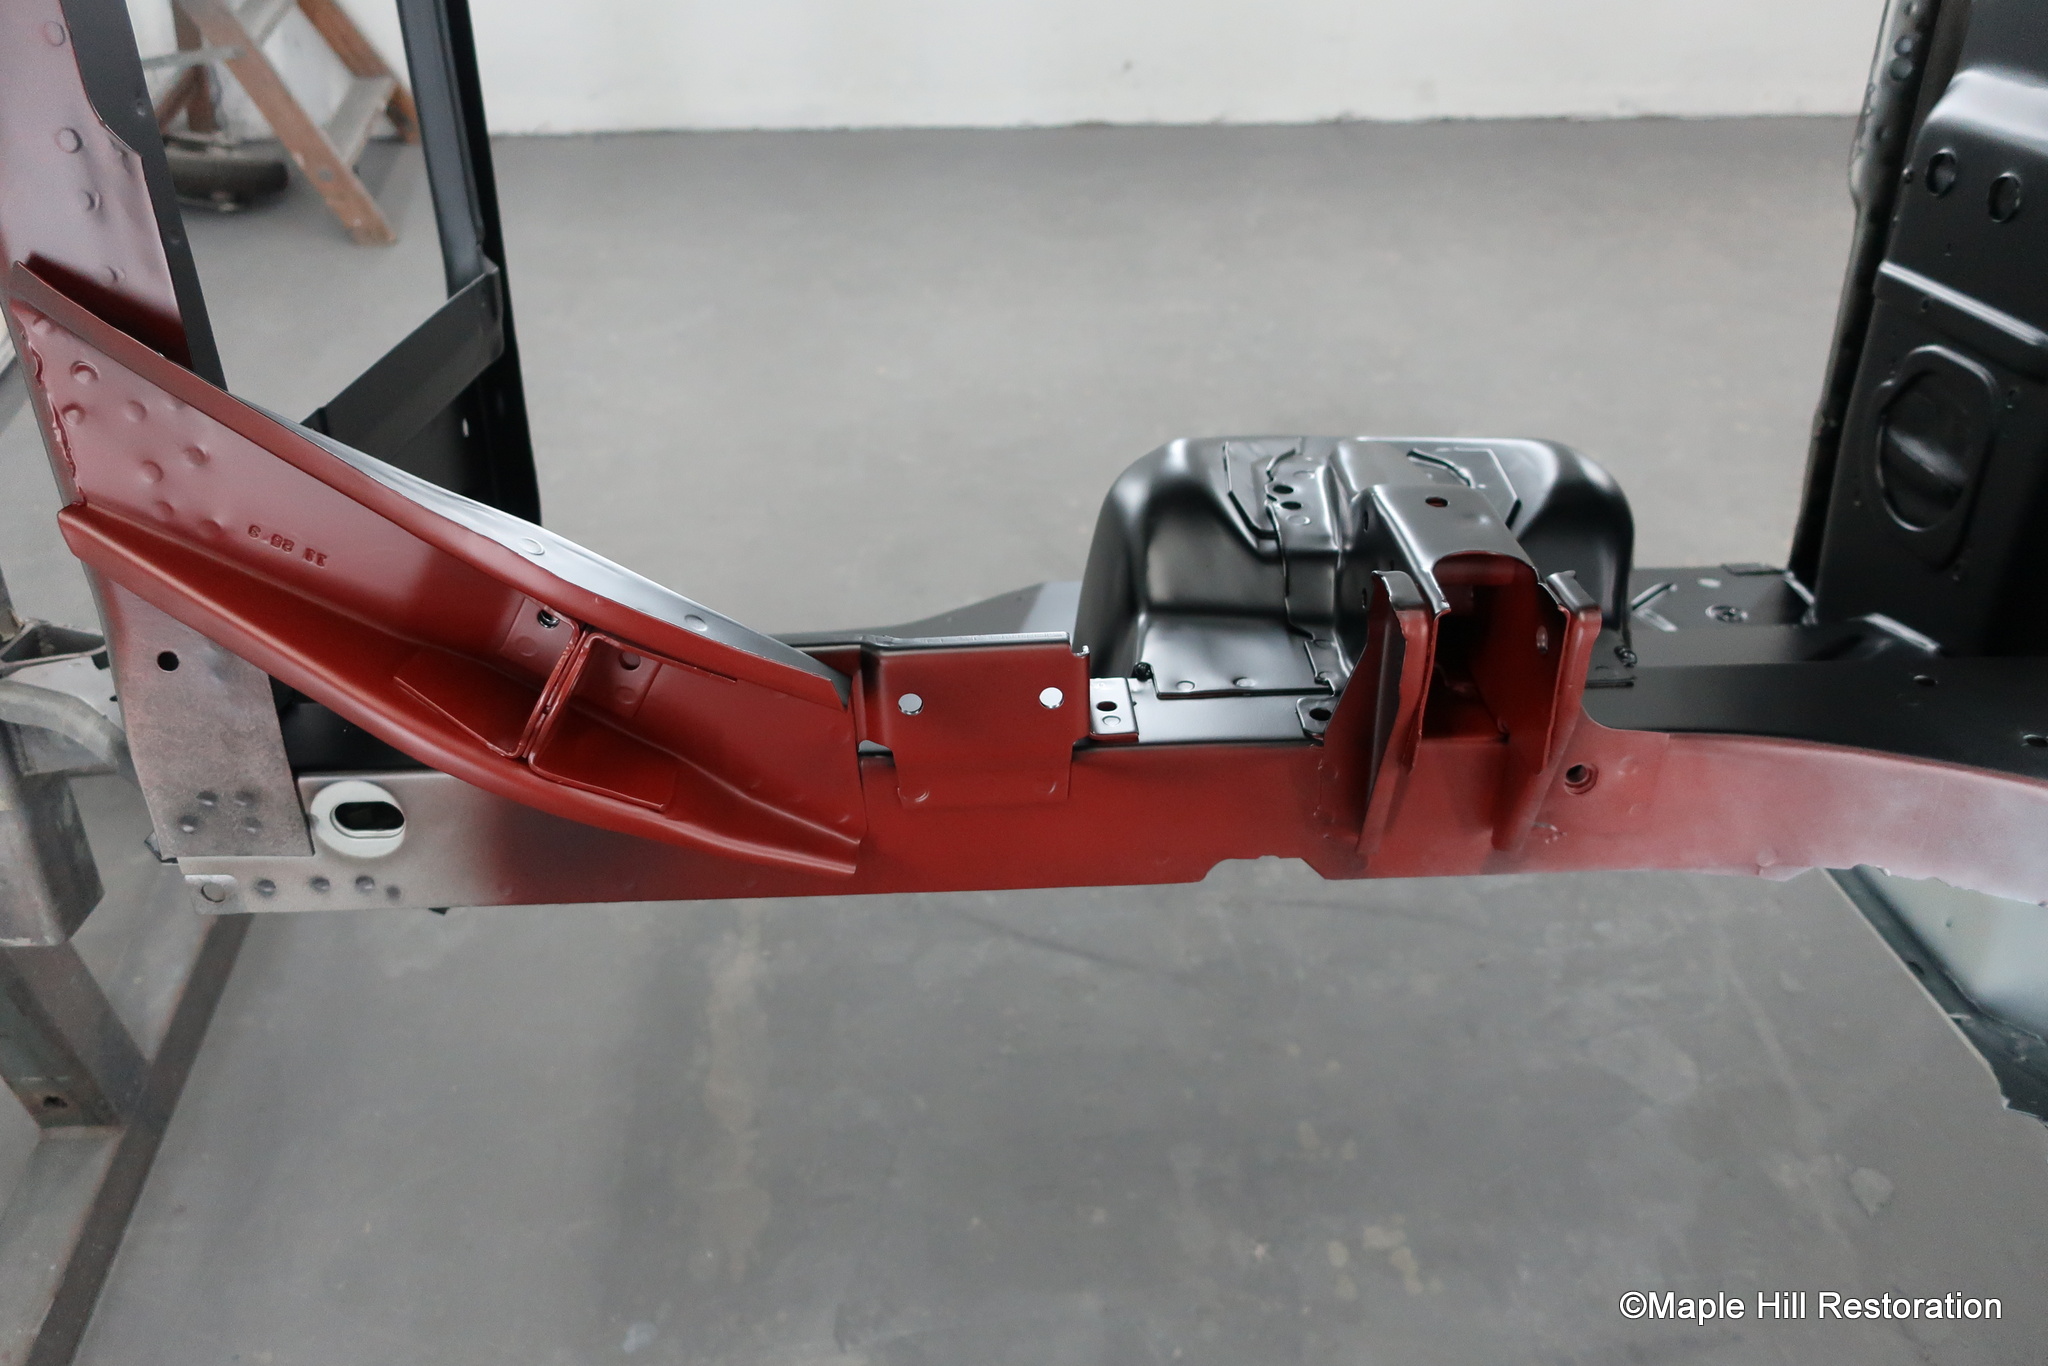
While most all '65 and '66 Mustangs are just painted with a red oxide underneath, the restorations here duplicate the colors exactly along with the gloss levels. While this particular car was originally painted with the red color sealer under the front rails, the majority of the floor pan was actually black which is common for San Jose production cars built in the production time.

From there, the correct body color overspray was applied along with the black out from the pinch weld at the rocker.

There are lots more details to explain, but to shorten this whole post, I will let the pictures do the talking. Amazing!!!


Just the Details...Early Production 1965 GT350 Shelby Mustang Restoration
Primed and ready to go. Drips are added to the floor pan...just like the original.


Sealer is applied to the proper areas.


Just the Details...Early Production 1965 GT350 Shelby Mustang Restoration
Another great shot of the primed underside of the Shelby.


Just the Details...Early Production 1965 GT350 Shelby Mustang Restoration
Black, in the proper gloss, applied to the engine compartment area on the GT350.

Just the Details...Early Production 1965 GT350 Shelby Mustang Restoration
Proper black engine compartment.


Just the Details...Early Production 1965 GT350 Shelby Mustang Restoration
Check out the correct color red under the front frame.

Just the Details...Early Production 1965 GT350 Shelby Mustang Restoration
The black is on the underside.

Just the Details...Early Production 1965 GT350 Shelby Mustang Restoration

Just the Details...Early Production 1965 GT350 Shelby Mustang Restoration
Black is on the underside.

Just the Details...Early Production 1965 GT350 Shelby Mustang Restoration


Just the Details...Early Production 1965 GT350 Shelby Mustang Restoration
White body color overspray.

Just the Details...Early Production 1965 GT350 Shelby Mustang Restoration
Welds for the spare hold down.

Just the Details...Early Production 1965 GT350 Shelby Mustang Restoration

Just the Details...Early Production 1965 GT350 Shelby Mustang Restoration
Here you can see the black overspray from the pinch weld on the rockers.

Just the Details...Early Production 1965 GT350 Shelby Mustang Restoration

Just the Details...Early Production 1965 GT350 Shelby Mustang Restoration

Just the Details...Early Production 1965 GT350 Shelby Mustang Restoration

Just the Details...Early Production 1965 GT350 Shelby Mustang Restoration

Just the Details...Early Production 1965 GT350 Shelby Mustang Restoration
The Mustang axle bumper brackets were crudely cut off and modified on the GT350s.

Just the Details...Early Production 1965 GT350 Shelby Mustang Restoration
Blue overspray from the side stripes.

Just the Details...Early Production 1965 GT350 Shelby Mustang Restoration

Just the Details...Early Production 1965 GT350 Shelby Mustang Restoration

Just the Details...Early Production 1965 GT350 Shelby Mustang Restoration

Just the Details...Early Production 1965 GT350 Shelby Mustang Restoration
Sealer dripped on the firewall duplicated perfectly.

Just the Details...Early Production 1965 GT350 Shelby Mustang Restoration

Just the Details...Early Production 1965 GT350 Shelby Mustang Restoration

Just the Details...Early Production 1965 GT350 Shelby Mustang Restoration

Just the Details...Early Production 1965 GT350 Shelby Mustang Restoration

Just the Details...Early Production 1965 GT350 Shelby Mustang Restoration

Just the Details...Early Production 1965 GT350 Shelby Mustang Restoration

Just the Details...Early Production 1965 GT350 Shelby Mustang Restoration

Just the Details...Early Production 1965 GT350 Shelby Mustang Restoration
The drips on the floor pan were duplicated perfectly.

Just the Details...Early Production 1965 GT350 Shelby Mustang Restoration

Just the Details...Early Production 1965 GT350 Shelby Mustang Restoration

Just the Details...Early Production 1965 GT350 Shelby Mustang Restoration

Just the Details...Early Production 1965 GT350 Shelby Mustang Restoration

Just the Details...Early Production 1965 GT350 Shelby Mustang Restoration

Just the Details...Early Production 1965 GT350 Shelby Mustang Restoration

Just the Details...Early Production 1965 GT350 Shelby Mustang Restoration

Just the Details...Early Production 1965 GT350 Shelby Mustang Restoration

Just the Details...Early Production 1965 GT350 Shelby Mustang Restoration

Just the Details...Early Production 1965 GT350 Shelby Mustang Restoration
Detail of where body was held down on assembly line.

Just the Details...Early Production 1965 GT350 Shelby Mustang Restoration

Just the Details...Early Production 1965 GT350 Shelby Mustang Restoration

Just the Details...Early Production 1965 GT350 Shelby Mustang Restoration

Just the Details...Early Production 1965 GT350 Shelby Mustang Restoration

Just the Details...Early Production 1965 GT350 Shelby Mustang Restoration

Just the Details...Early Production 1965 GT350 Shelby Mustang Restoration

Just the Details...Early Production 1965 GT350 Shelby Mustang Restoration


Sep 3, 2020

Gas Tank Sending Unit Lock Ring Tool


Fuel Sending Unit Lock Ring Removal Tool
Fuel Tank Sending Unit Lock Ring Removal Tool for Mustang
©Virginia Classic Mustang Inc

This is a tool that every classic Mustang owner should have in their tool box. It is made to "grab" the locking ring that holds in the fuel tank sending unit. 

This works way better and is much safer than using a flat blade screwdriver or punch along with a hammer.

Here is the link:  Mustang Fuel Tank Sending Unit Lock Ring Removal Tool

Don't forget - We also, of course have a full line of Mustang Gas Tanks, Sending Units and related parts in stock!

Fuel Sending Unit Lock Ring Removal Tool
Fuel Tank Sending Unit Lock Ring Removal Tool for Mustang
©Virginia Classic Mustang Inc


Aug 28, 2020

New Seat Upholstery and Foam in the Shelby Mustang Makes a Huge Difference!

The Green Shelby Mustang gets new seat upholstery and foam.
©Virginia Classic Mustang Inc


When your original seat upholstery in your Mustang is not split or torn, it's very tempting to just leave it alone. 

I tell you though...this stuff is over 50 years old, and it's usually flat worn out. This is what we learned in our "driver" GT350 - 1966 SFM6S1732 - we affectionately just call it "the green car."

The seats were super nice, but they were just "flat". The foam in the pleats in the upholstery itself was worn out, and, of course, the seat foam just was not doing its job any longer either. We love to drive this car, and it was time to make it more comfortable!

Of course, we turned to Jeremy at Maple Hill Restoration. He completely stripped the seats to prepare them for recovering. The metal frames were in excellent condition, but while they were bare, Jeremy glassbeaded, epoxy primed, and painted them.

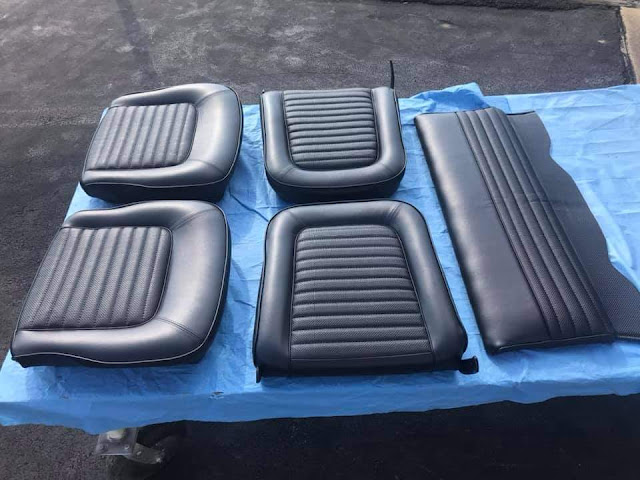
We pulled the new TMI seat upholstery from our shelves along with new TMI seat foam. These items just fit so well and make an absolutely huge difference. That new foam is just so much more comfortable!

Keep watching our posts for more little tweaks that we will be making to this GT350 in preparation for some road tours this Fall!

Get out and enjoy your vintage Mustangs and Shelbys!

If you are interested in replacing the seat upholstery and foam in your Mustang, check out these links:


The Shelby Mustang seats were in great condition. They had just lost their "cushion". New seat upholstery and foam would take care of the problem.
©Virginia Classic Mustang Inc

The Shelby Mustang seats were in great condition. They had just lost their "cushion". New seat upholstery and foam would take care of the problem.
©Virginia Classic Mustang Inc

The Mustang seat upholstery was carefully removed.
©Virginia Classic Mustang Inc

The original markings on the back of the seat upholstery had transferred to the foam.
©Virginia Classic Mustang Inc

This shot shows the original burlap on the seat frame under the seat foam.
©Virginia Classic Mustang Inc


The original Mustang seat foam looks great, but it is totally worn out.
©Virginia Classic Mustang Inc

The original Mustang seat frames were in amazing shape, but we wanted them stripped and repainted.
©Virginia Classic Mustang Inc

The original Mustang seat frames were glassbeaded, epoxy primed, and repainted.
©Virginia Classic Mustang Inc

The original Mustang seat frames were glassbeaded, epoxy primed, and repainted.
©Virginia Classic Mustang Inc

The new seat foam was installed on the front seats. The original rear was reused.
©Virginia Classic Mustang Inc

The new Mustang seat foam, along with the new upholstery look fantastic and will be so much more comfortable than the 50+ year old stuff.
©Virginia Classic Mustang Inc